Why doesn’t my Vicibox9 ISO install work?

Why doesn’t my Vicibox9 ISO install work?
Well, it seems there is an issue with the installer now since Leap 15.1 went end of life and no longer supports updates. So what do you do now? A scratch install on Leap 15.2 is one option following a post I wrote up for that a few days ago, or you could upgrade 15.1 to 15.2 following this tutorial.
Vicibox 9 Fix as well
Step 1 – Preparing for upgrade by enabling the proper repository
zypper modifyrepo --enable openSUSE-Leap-15.1-Update
zypper ref
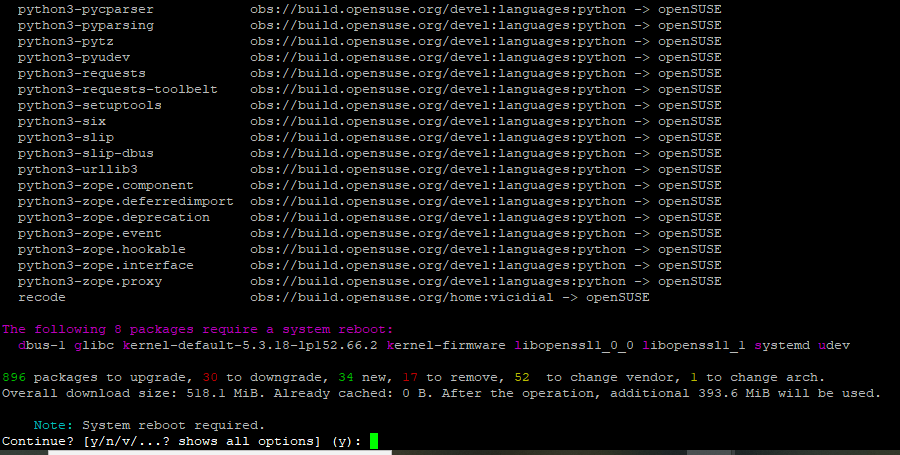
zypper up

Step 2 – Change existing repo’s for the others
This next part will change the repo’s to 15.2 and then we will start the fun part.
files="$(zypper lr -u | awk -F'|' '$4 ~ /Yes/ { gsub (" ", "", $2); r="/etc/zypp/repos.d/"$2".repo"; print r }')"
for f in $files
do
  echo "Backup of $f saved to /root/ before patching it up ..."
  cp -f "$f" /root/
  sed -i 's+/leap/15.1+/leap/$releasever+' "$f"
  sed -i 's+15.1.1+15.2+' "$f"
  sed -i 's+15.1+15.2+' "$f"
done
Step 3 – Update and reboot
zypper --releasever=15.2 ref
zypper --releasever=15.2 dup
reboot
If you have any problems, just comment here and I will help you out the best I can or you can drop by our Skype Group chat: https://join.skype.com/ujkQ7i5lV78O . Hope this helps a lot of you out there.


March 28th Update: Make sure you copy php7.conf to mod_php7.conf or the dynportal and audiostore conf files will cause apache to have errors. You can do so with the following command:
cp /etc/apache2/conf.d/mod_php7.conf /etc/apache2/conf.d/php7.conf or vica versa,
Comments
Post a Comment